Dealing with the sharp pain and limited movement of a rotator cuff injury is incredibly frustrating. It can impact everything from getting dressed in the morning to enjoying your hobbies here in Cedar Park, TX. If you’re struggling with shoulder pain, you’re not alone, and you’ve come to the right place for answers.
At Bell District Spine and Rehab, our Cedar Park chiropractor has seen firsthand that a targeted program of rotator cuff injury recovery exercises, combined with expert chiropractic care, is the absolute cornerstone of a successful recovery. We’re here to guide you back to a pain-free life.
Your Path Forward After a Rotator Cuff Injury in Cedar Park
A rotator cuff injury can feel like it puts your entire life on hold. Suddenly, simple tasks like reaching into a high cabinet, washing your hair, or even just sleeping comfortably through the night become major challenges. That deep, nagging ache on the side of your shoulder, often radiating down the arm, is a constant reminder that something is wrong.
This isn’t just an “athlete’s injury.” It affects people from all walks of life in Cedar Park—from desk workers with nagging overuse pain to weekend warriors who felt a sudden “pop” during a game.
The rotator cuff itself is a group of four small but mighty muscles and their tendons. They surround the shoulder joint, acting like a “cuff” to keep the head of your upper arm bone securely centered in its shallow socket. An injury can range from simple inflammation (tendinitis) to a partial or even a full-thickness tear of one of these crucial tendons.
Understanding the Injury and How Chiropractic Care Helps
It’s natural to hear the word “tear” and assume surgery is the only option, but that’s often not the case. Your body has a remarkable capacity to heal when given the right support. The key is understanding that recovery isn’t just about waiting for the pain to go away; it’s an active process of rebuilding your shoulder’s entire support system, and chiropractic care plays a vital role.
Our approach in Cedar Park involves a few key steps:
- Restoring Mobility: We need to gently reintroduce movement to prevent the joint from becoming stiff and developing into a “frozen shoulder.”
- Reducing Inflammation: Calming the initial pain and swelling is crucial for creating an environment where healing can actually begin.
- Rebuilding Strength: This is about more than just the rotator cuff. We methodically strengthen the larger muscles around your shoulder blade and core that provide critical stability.
- Improving Mechanics: We also have to correct the underlying movement patterns or postural issues—often related to spinal alignment—that may have contributed to the injury in the first place.
This process ensures you’re not just patching the problem but building a more resilient, durable shoulder for the long haul.
A common misconception is that a rotator cuff tear requires immediate surgery. In reality, a conservative, exercise-based approach guided by a chiropractor is often the most effective first line of treatment, helping patients in Cedar Park avoid invasive procedures and regain full function.
The journey to recovery can be broken down into a clear, three-stage process. It starts with a thorough assessment to understand your specific injury, moves into a dedicated rehabilitation program, and ultimately culminates in a full recovery.
This infographic neatly illustrates the fundamental steps in the rotator cuff recovery process.
This visual roadmap highlights how a successful outcome is always built on a foundation of an accurate diagnosis followed by a structured, progressive rehab plan.
Your Rotator Cuff Recovery Roadmap
This table gives you a clear overview of the recovery journey, helping you understand the progressive nature of rehabilitation and what to expect.
| Recovery Stage | Primary Focus | Typical Timeline |
|---|---|---|
| Stage 1: Early Mobility | Pain and inflammation control, gentle range of motion | 1–4 Weeks |
| Stage 2: Strengthening | Rebuilding strength in the rotator cuff and scapular muscles | 4–12 Weeks |
| Stage 3: Functional Return | Sport- or activity-specific movements, power development | 12+ Weeks |
This roadmap shows that each stage builds on the last, ensuring your shoulder is ready for the demands you’ll place on it.
Why a Conservative Approach Works
The science is clear: physical rehabilitation has a powerful and proven effect on rotator cuff injuries. Research consistently shows that non-operative physical therapy is remarkably effective, with success rates between 73-80% of patients improving without surgery.
Even more telling, a landmark study found that approximately 75% of patients with full-thickness tears achieved successful outcomes with conservative therapy alone over a two-year period. You can explore more about these powerful findings on rotator cuff tear treatment.
At Bell District Spine and Rehab, we see this success in our Cedar Park patients every single day. By focusing on a personalized plan of targeted exercises and supportive chiropractic therapies, we help you restore strength, regain full mobility, and get back to the activities you love—safely and for good.
Easing into Recovery with Gentle Mobility Exercises
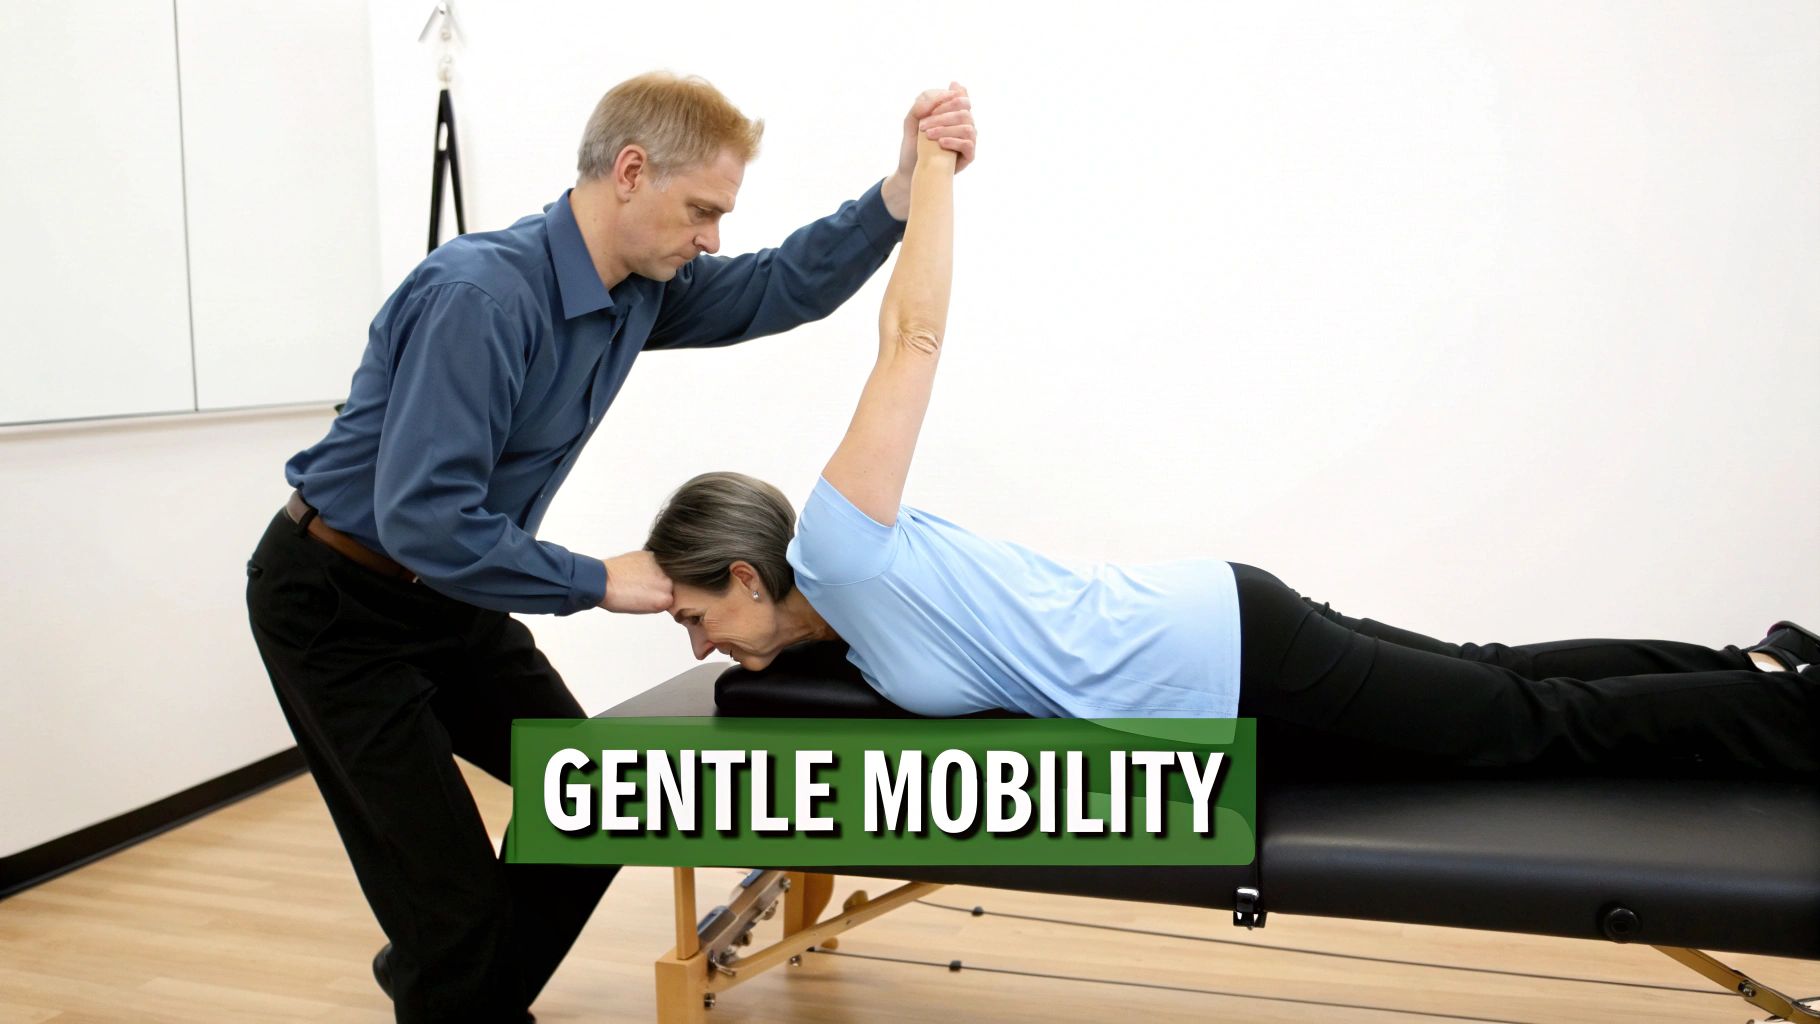
When your shoulder is screaming in pain, the first instinct is usually to lock it down and stop moving it altogether. While a short period of rest is important, keeping the shoulder completely still for too long is the enemy of a good recovery.
The real goal in this first phase is to calm everything down. We want to soothe the irritated tissues, dial back the pain and inflammation, and gently reintroduce the very idea of movement to the joint.
This early motion is non-negotiable. It’s what stands between you and nasty secondary problems like adhesive capsulitis, better known as “frozen shoulder.” It also gets blood flowing to the injured tendons, which is critical since tendons don’t have a great blood supply to begin with. The trick is to stay within a pain-free zone, focusing on relief, not pushing through discomfort.
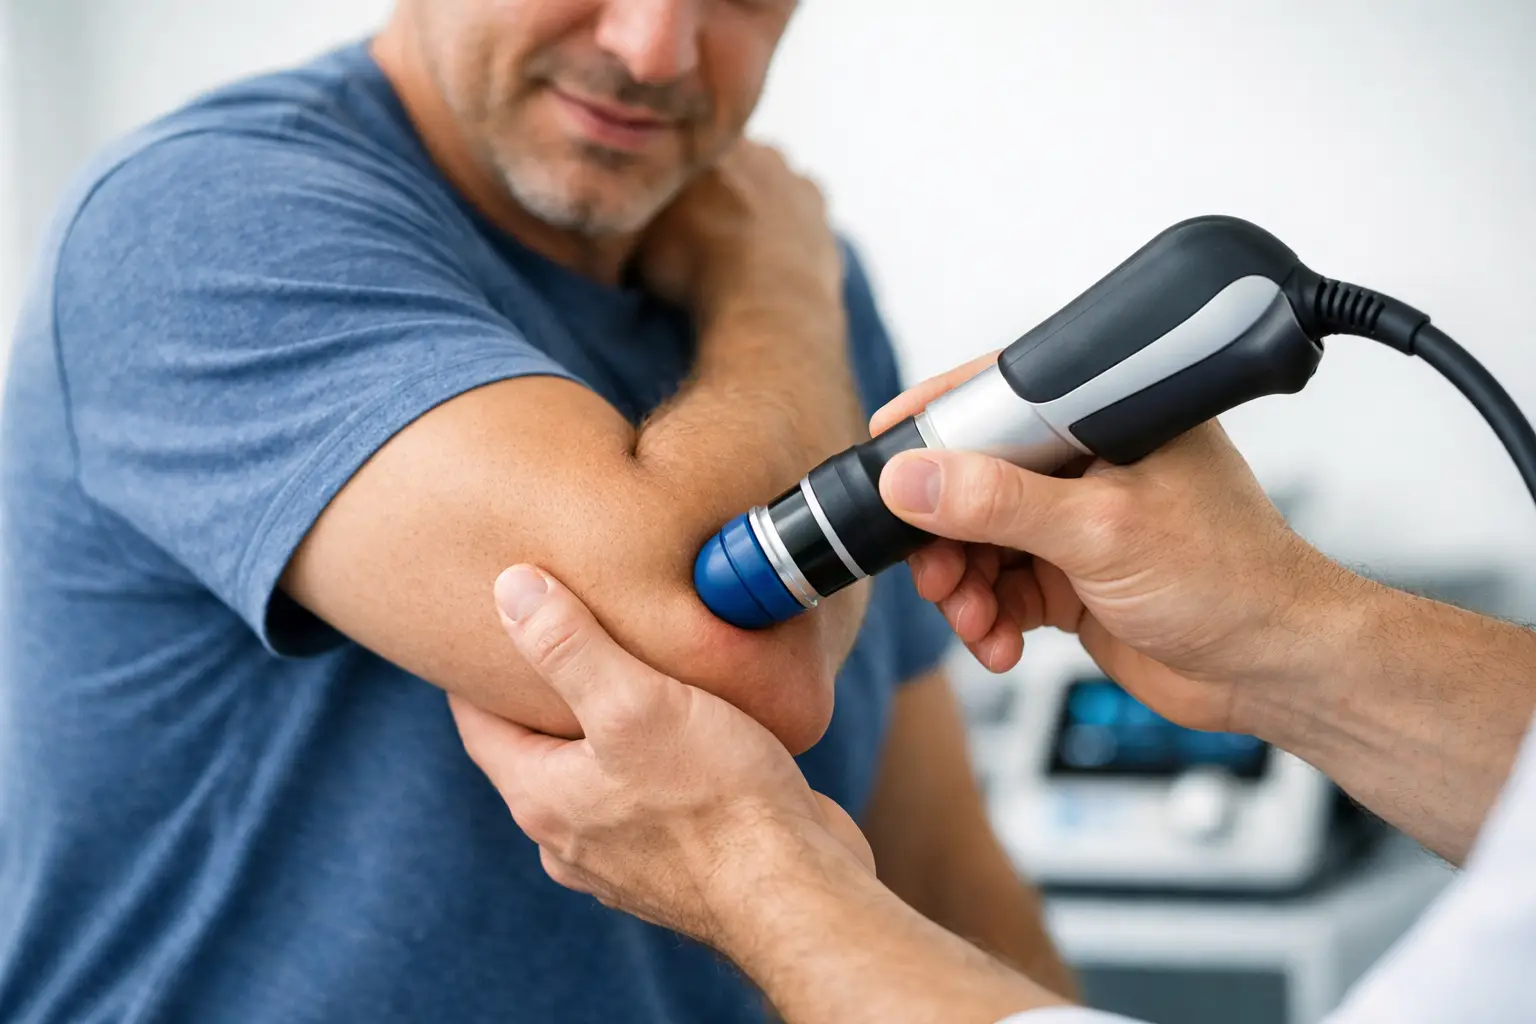
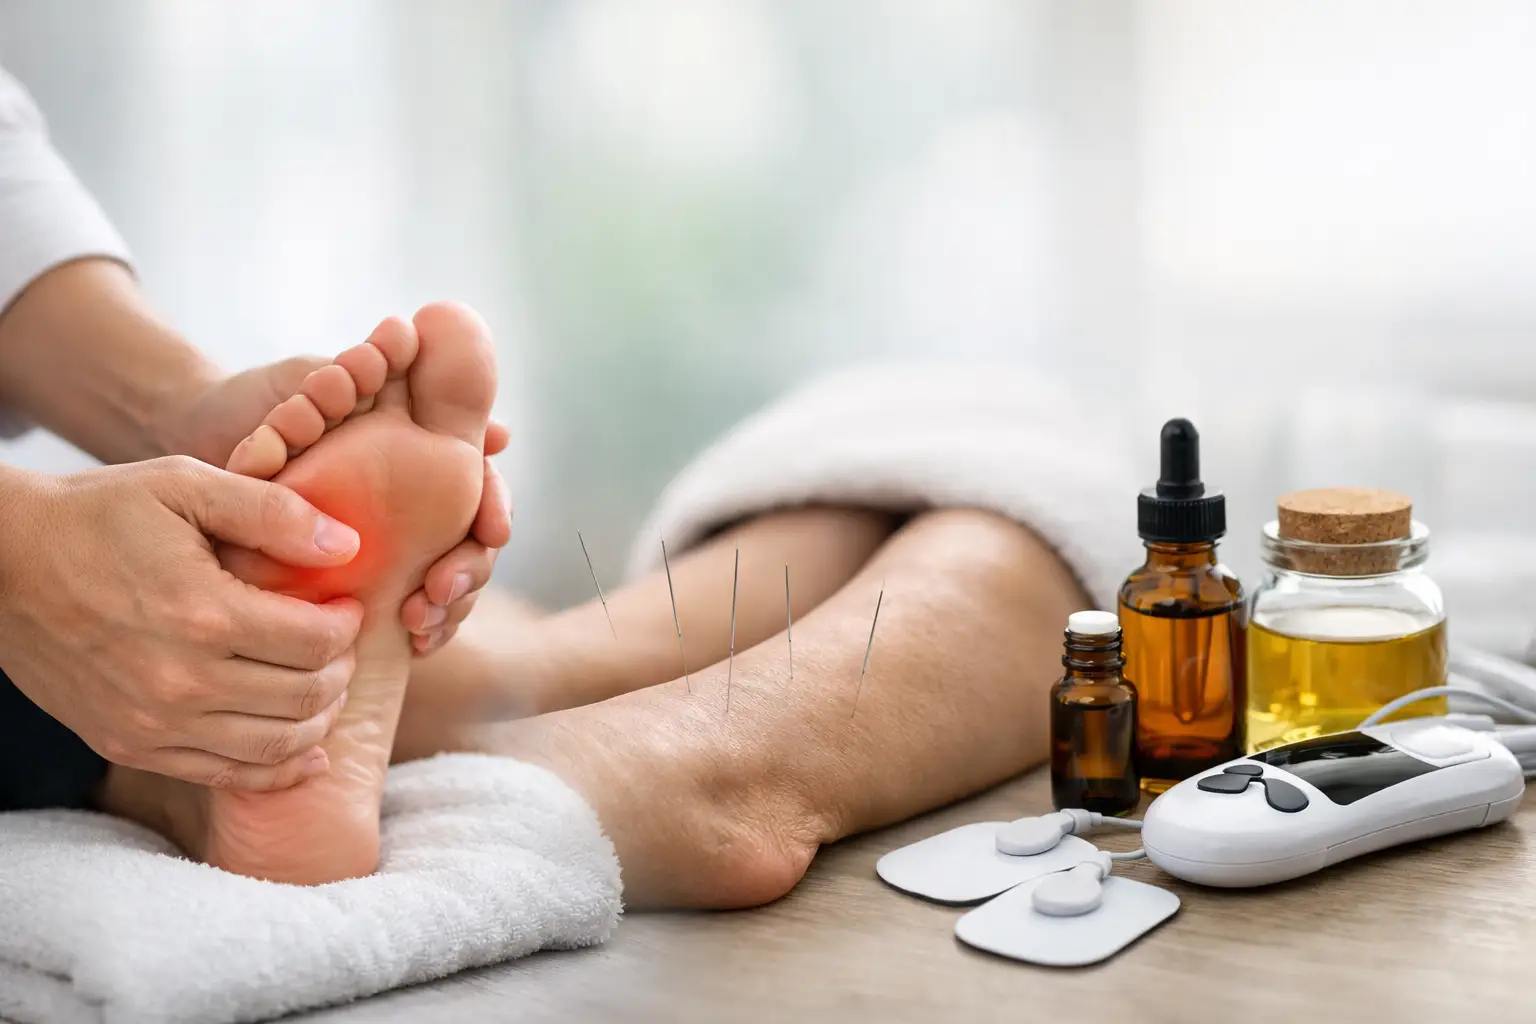
Here at Bell District Spine and Rehab, we walk our Cedar Park patients through these crucial first steps. We often pair these at-home rotator cuff injury recovery exercises with in-clinic therapies like laser or shockwave, which can dramatically speed up pain relief and jumpstart the healing process.
The Guiding Rule: Listen to Your Body
Before you try a single movement, you need to understand the golden rule of this phase: your body is in charge. These exercises are meant to be therapeutic. They should never cause sharp, stabbing, or worsening pain.
Feeling a mild stretch is perfectly fine, but anything more than that is a clear signal to back off. The mantra here is “motion is lotion.” We’re just trying to lubricate the joint and encourage the tissues to glide smoothly again, not force them into places they’re not ready to go.
Think of this stage like gently rocking a sleeping baby. The goal is calm, rhythmic, and soothing motion. Any sudden or forceful movements will only wake it up and make it cry—in your shoulder’s case, that cry is pain and inflammation.
If an exercise makes your pain flare up, stop. It’s that simple. It might mean you need to shrink your range of motion, or maybe your shoulder just isn’t ready for that specific move yet. And that’s okay.
Foundational Mobility Exercises
Here are three foundational exercises we use all the time in the early phase of rotator cuff rehab. They require little to no equipment and are safe to do at home. Just remember to move slowly and with intention.
1. Pendulum Swings
This is almost always the very first exercise we prescribe. It uses gravity to gently create a little space in the shoulder joint, which can provide immediate relief.
- How to do it: Stand next to a sturdy table or counter, placing your good hand on it for support. Bend at the waist and let your injured arm hang straight down. Completely relax your shoulder muscles.
- The movement: Let your body’s momentum create the motion. Gently sway your torso to swing the arm forward and back, then side to side, and finally in small circles. Your arm should feel like a dead weight; don’t use your shoulder muscles to lift it.
- Sets and reps: Perform for 30-60 seconds in each direction, 2-3 times per day.
2. Passive External Rotation with a Stick
This one is all about restoring that crucial outward rotation without making the injured rotator cuff muscles do any work. Your healthy arm does all the heavy lifting.
- How to do it: Lie on your back with your knees bent. Hold a stick (a broomstick or even an umbrella works) with both hands. Your injured arm’s elbow should be bent to a 90-degree angle and tucked firmly against your side. A small rolled-up towel under that elbow can add comfort and support.
- The movement: Using your good arm, gently push the stick to rotate the injured arm outward. Go only until you feel a comfortable stretch. Hold it there for 15-30 seconds, then ease back to the start.
- Sets and reps: Repeat 5-10 times, once a day.
For a clear visual on this and other key movements, check out our extensive library of exercise videos on our website. Seeing the proper form makes all the difference.
3. Wall Crawls
This is a safe and controlled way to work on lifting your arm forward and out to the side without putting a ton of strain on the shoulder.
- How to do it: Stand facing a wall, about an arm’s length away. Place the fingertips of your injured arm on the wall around chest level.
- The movement: Slowly “walk” your fingers up the wall, going as high as you comfortably can without triggering significant pain. Let your fingers do the work. Pause at the top for a few seconds, and then slowly crawl your fingers back down.
- Sets and reps: Repeat 5-10 times, once per day.
By sticking with these gentle exercises, you are laying the foundation for a successful recovery. You’re not just managing pain—you’re actively preparing your shoulder for the strengthening work that comes next.
Building a Foundation of Strength and Stability
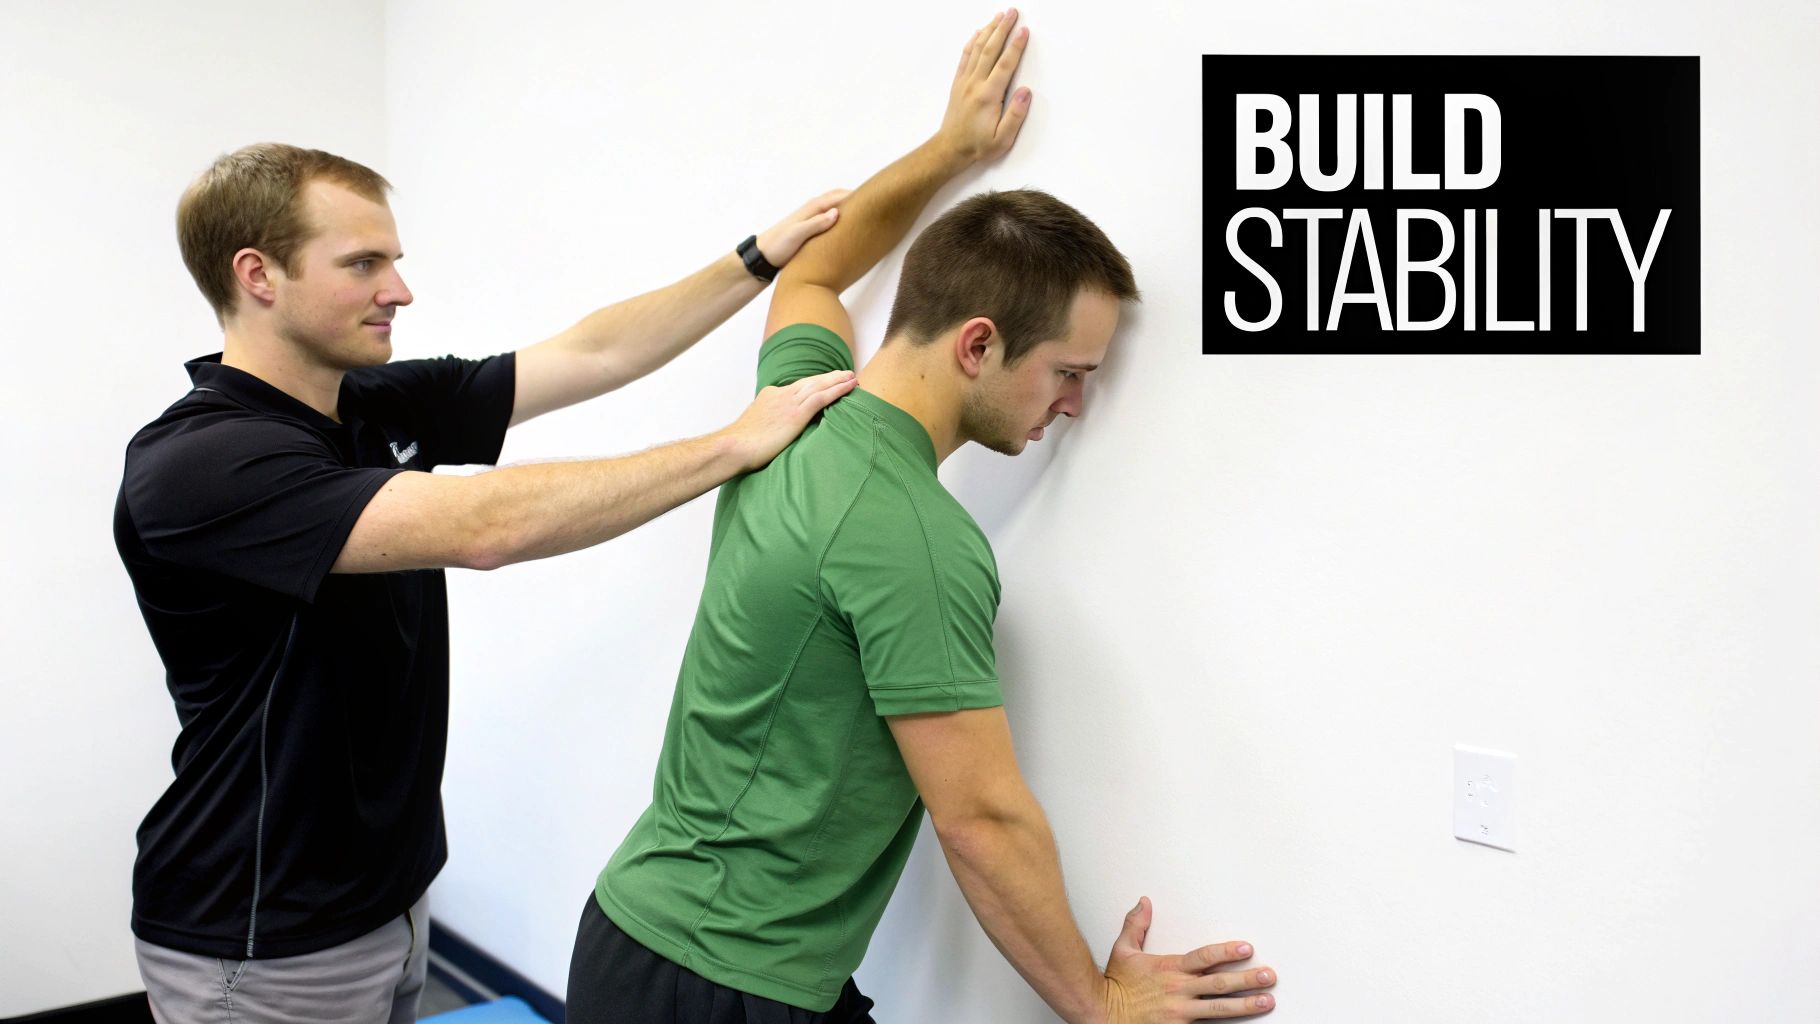
Once the initial storm of pain and inflammation has passed, we can start the rebuilding process. This phase isn’t about heavy lifting; it’s about intelligent, focused activation. We’re essentially waking up the muscles that have been offline due to the injury, re-establishing that crucial mind-muscle connection with your shoulder.
The focus now shifts to creating a rock-solid foundation. Think of your shoulder blade (scapula) as the concrete base for a house. If that base isn’t stable, anything built on it—including every single movement of your arm—will be shaky and prone to problems. This stage of rotator cuff injury recovery exercises is all about securing that foundation.
At Bell District Spine and Rehab, we guide our Cedar Park patients through this critical transition, ensuring you master the technique of each movement. Here, precision is far more important than power. The goal is to make daily tasks like carrying groceries or reaching for a high shelf feel effortless and pain-free again.
The Power of Isometric Contractions
The first step in strengthening often happens without any movement at all. That might sound counterintuitive, but isometric exercises are an incredibly safe and effective way to activate the rotator cuff muscles without stressing the injured tendon. An isometric contraction is simply when you tense a muscle without changing its length or moving the joint.
Imagine pushing against a wall—the wall doesn’t move, but your muscles are definitely firing. This allows us to gently re-engage the rotator cuff, reminding it of its job in a controlled, low-risk environment.
Isometric exercises are like turning the lights back on in a room that’s been dark. We’re not rearranging the furniture yet; we’re just restoring power and re-establishing the basic connections needed for the muscle to function properly.
These exercises are perfect for the early stages of strengthening. They build a baseline of muscle control and can even help reduce pain, serving as the bridge between gentle mobility and dynamic strengthening.
Key Foundational Strengthening Exercises
Here are a few essential exercises that form the core of this strengthening phase. Remember, the key is slow, controlled movement.
1. Isometric External and Internal Rotation
This simple exercise targets the rotator cuff muscles that turn your arm in and out, all without actually moving the joint.
- How to do it: Stand in a doorway or next to a wall. Bend your injured arm to a 90-degree angle, keeping your elbow tucked tightly into your side. For external rotation, stand so the back of your hand is against the wall or doorframe and gently press into it, as if trying to rotate your arm outward. For internal rotation, face the other way and press your palm into the wall.
- Hold and Repeat: Hold the contraction for 5-10 seconds, then relax. Aim to perform 10-15 repetitions for each direction.
2. Scapular Squeezes
This movement hones in on the rhomboid and trapezius muscles between your shoulder blades—the primary stabilizers for your scapula.
- How to do it: Sit or stand with a tall, straight posture and let your arms relax at your sides. Gently squeeze your shoulder blades together and slightly down, as if you’re trying to pinch a pencil between them.
- Hold and Repeat: Hold that squeeze for 3-5 seconds, really focusing on the muscle contraction. A common mistake is shrugging the shoulders up toward the ears, so keep them down and relaxed. Repeat 15-20 times.
3. Prone ‘T’s
This is a fantastic exercise for strengthening the muscles that support good posture and shoulder stability.
- How to do it: Lie face down on a bed or a bench, letting your injured arm hang off the side. With your thumb pointing up towards the ceiling, slowly lift your arm straight out to the side, forming a ‘T’ with your body.
- The Movement: The key is to squeeze your shoulder blade as you lift. Raise your arm only to the level of your back—no higher. Then, slowly lower it back down with control.
- Sets and Reps: Aim for 2-3 sets of 10-15 repetitions.
These types of resistance-based exercises are incredibly effective. In fact, clinical data shows that structured resistance programs can improve pain intensity scores by 35-45% after just 6-12 weeks. A large-scale analysis confirmed that patients using these programs saw significant pain reduction compared to those who didn’t.
As you build this foundation, exploring effective supplements for joint health can provide additional support for your shoulder’s recovery and tissue repair. This holistic approach ensures you are supporting your body from the inside out.
Advancing to Functional Strength and Movement
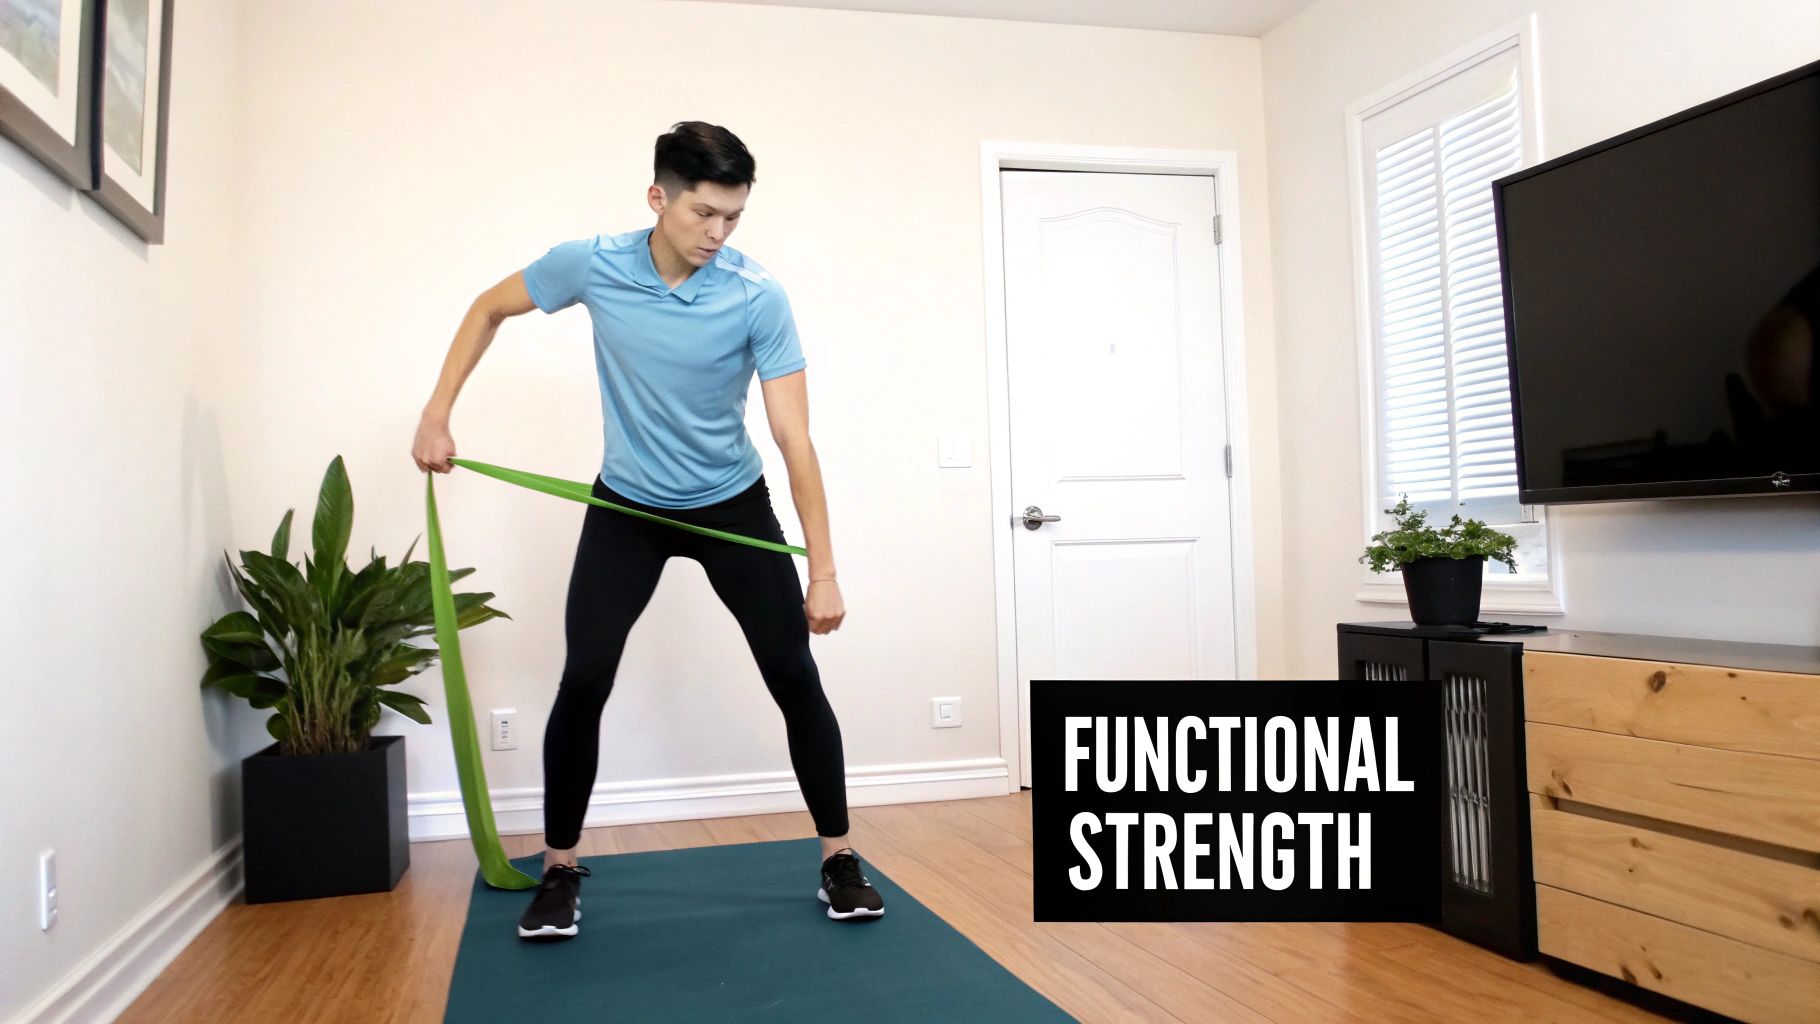
Once your shoulder feels stronger and the initial, sharp pain begins to fade, it’s time to level up. The exercises need to evolve to handle the demands of real life. This is where we shift from simply waking up the muscles to translating that newfound strength into practical, everyday function.
We move beyond isolated movements and start integrating dynamic, multi-joint exercises. This is how we teach the shoulder to work in harmony with the rest of your body again.
The goal here is to build strength you can actually use. Whether you’re an athlete in Cedar Park itching to get back in the game or a grandparent who just wants to lift your grandchild without a second thought, this phase is for you. We’ll use tools like resistance bands and light weights to challenge the rotator cuff in ways that mirror your daily activities.
Integrating the Body as a Whole
One of the biggest mistakes we see in shoulder rehab is keeping the rotator cuff isolated for too long. Your shoulder doesn’t operate in a vacuum; it’s part of a kinetic chain that runs all the way from your feet to your fingertips. Think of your core and proper spinal alignment as the anchor for every single arm movement you make.
Without a solid, engaged core and a properly aligned spine, your shoulder is forced to pick up the slack, which dramatically increases the risk of re-injury. That’s why these functional exercises are designed to engage your core and hips, teaching your body to generate power from the ground up—not just from the shoulder joint. It’s about building a more resilient and efficient system.
Key Functional Strengthening Exercises
These exercises are more complex than what you’ve done so far, so attention to detail is crucial. Start with light resistance and only increase it when you can perform the movement perfectly and without pain.
1. Standing Rows with Resistance Band
This is a fantastic exercise for strengthening the muscles of your upper back and the back of the rotator cuff. These muscles are vital for good posture and overall shoulder health.
- How to do it: Loop a resistance band around a sturdy anchor point, like a doorknob, at about chest height. Stand facing the anchor, holding the band in your injured arm with your palm facing inward.
- The Movement: Keep your back straight and core tight as you pull the band straight back. Focus on squeezing your shoulder blade toward your spine. Your elbow should graze your side. Pause for a second, then slowly return to the start with control.
- Sets and Reps: Aim for 2-3 sets of 12-15 repetitions.
2. Scaption with Light Dumbbells
Scaption strengthens a key rotator cuff muscle (the supraspinatus) in a biomechanically safe range of motion. We’re talking about 30 degrees in front of the body, not directly out to the side where impingement can happen.
- How to do it: Stand with your feet shoulder-width apart, holding a very light dumbbell (1-3 pounds is plenty to start) with your thumb pointing up.
- The Movement: Slowly raise your arm to shoulder height at that 30-degree angle from the front of your body. Keep your arm straight but don’t lock the elbow. Pause at the top, then lower the weight slowly and with control. The biggest cheat here is shrugging your shoulder up toward your ear—avoid that at all costs.
- Sets and Reps: Perform 2-3 sets of 10-12 repetitions.
3. Lawnmower Pulls with Resistance Band
This is a true full-body movement. It trains your shoulder to work in sync with your hips and core, mimicking the lifting and pulling motions you do every day.
- How to do it: Anchor a resistance band near the floor. Stand sideways to the anchor with your feet wide. Grab the band with your far hand, letting it cross in front of your body.
- The Movement: Start in a slight squat. As you stand up, rotate your torso and pull the band up and across your body, just like you’re starting an old lawnmower. The power should explode from your hips and core, not just your arm.
- Sets and Reps: Complete 2-3 sets of 10-12 repetitions on each side.
Rehabilitation is a journey of steady, consistent progress. Research shows that exercise therapy for rotator cuff pain leads to progressive improvement, with the most significant functional gains often appearing between the 3 to 5-month mark. After a 12-week home exercise program, patients saw their shoulder function scores increase by an average of 9.8 to 14.4 points, demonstrating the power of consistent effort. You can read more about these findings in rotator cuff rehabilitation.
The Importance of Professional Guidance
This is the stage where having an expert eye on you becomes invaluable. As movements get more complex, it’s easy for subtle compensatory patterns to creep in—a slight hip hike, a shoulder shrug, or relying too much on your upper traps. These habits are almost impossible to spot on your own and can lead to major setbacks.
At Bell District Spine and Rehab, Dr. Tuggle’s expertise can make all the difference. Through careful observation, we can spot and correct these tiny errors before they become ingrained habits. Our detailed approach to movement analysis in our Cedar Park clinic ensures you are moving efficiently and safely, maximizing your recovery while minimizing the risk of another injury.
What to Expect at Your Cedar Park Chiropractic Consultation
Deciding to finally get professional help for that nagging shoulder pain is a huge first step, but it’s totally normal to feel a little unsure about what comes next. At Bell District Spine and Rehab, we get it. We’ve designed our entire process to be as clear and comfortable as possible from the moment you walk through our doors.
Your first visit isn’t just about looking at your shoulder; it’s about understanding you. We want to know about your lifestyle, your work, and what activities you’re desperate to get back to doing without pain. When you come into our clinic on South Bell Blvd, you’ll find a team that genuinely cares about helping our neighbors in Cedar Park, Leander, and Round Rock find real, lasting solutions. Forget temporary fixes—our goal is to pinpoint the root of the problem and build you a permanent road to recovery.
Your Initial Conversation and Exam
The first thing we’ll do is simply sit down and talk. This is your time to tell us your story. Dr. Tuggle will listen closely to get the full picture:
- How the pain started: Was it a sudden pop during a workout, or did it creep up on you over months?
- What your symptoms feel like: Are we talking about a sharp, stabbing pain, a dull ache, or something that radiates down your arm?
- How it affects your daily life: What can’t you do anymore? Reaching for a coffee mug? Picking up your kid?
- Your recovery goals: What’s the one thing you want to do again, pain-free? We want to know.
After our chat, Dr. Tuggle will conduct a thorough physical and orthopedic exam. This is much more than a quick once-over. It’s a deep dive into how your shoulder is (and isn’t) working. We’ll carefully assess your range of motion, test the strength of specific muscles, and use proven orthopedic tests to figure out exactly which structures are causing the trouble. This hands-on evaluation is absolutely critical for an accurate diagnosis.
Creating Your Personalized Treatment Plan
Once we have all the information from your history and exam, we’ll map out a personalized treatment plan. This is not some cookie-cutter protocol we hand out to everyone. Your plan will integrate the specific therapies and rotator cuff injury recovery exercises that your shoulder needs to heal correctly.
We believe in attacking the problem from multiple angles. Your plan might include a combination of:
- Chiropractic Adjustments: To make sure your neck and upper back are moving correctly, which creates the best possible environment for your shoulder to heal.
- Advanced Therapies: We’ll explain how treatments like shockwave therapy or laser therapy could speed up your recovery by kicking inflammation to the curb and promoting tissue repair.
- Targeted Rehabilitation: We will walk you through the specific exercises you need to start with, making sure you nail the proper form and technique from day one.
We don’t just treat the rotator cuff; we treat the entire system it’s a part of. A successful recovery depends on addressing not only the injured tissue but also the underlying biomechanical issues in the spine and surrounding joints that may have contributed to the problem in the first place.
Throughout this entire process, ask questions. The more, the better. We want you to feel confident and completely in the loop with your recovery plan. Our commitment is simple: to give you the knowledge, tools, and expert care you need to get you back to living your life without shoulder pain.
Your Top Questions About Rotator Cuff Recovery, Answered
Going through a rotator cuff injury naturally brings up a lot of questions. We hear them every single day from our patients here in Cedar Park. You’re likely wondering about your recovery timeline, what you should (and shouldn’t) be doing, and when it’s time to call in a professional. Our goal is to give you clear, straightforward answers so you can move forward with confidence.
Here are some of the most common concerns we address at Bell District Spine and Rehab.
How Long Does Rotator Cuff Recovery Take?
This is always the first question, and the honest answer is: it really depends. There’s no one-size-fits-all timeline. Your recovery is unique to you and hinges on a few key factors, like the severity of the injury, your overall health, and—most importantly—how consistent you are with your rehab exercises.
A minor strain or a bit of tendinitis might start feeling significantly better in just a few weeks. A more substantial tear, however, can easily take three to six months or even longer to fully heal. In our clinic, we typically see patients report a major drop in their pain levels within the first 6-12 weeks of sticking to a consistent program.
Patience is your best friend here. The most significant gains in strength and function often show up between the three and five-month marks. Pushing yourself too hard, too soon is one of the biggest mistakes we see people make.
Should I Use Ice or Heat on My Shoulder?
Ah, the classic debate. The right answer actually changes depending on what stage of healing you’re in.
- Ice is for calming things down. In the first 48-72 hours after the initial injury, or any time you’re dealing with noticeable swelling, ice is your go-to. It helps constrict blood vessels, which dials down the swelling and provides some welcome numbing relief.
- Heat is for loosening things up. Once that initial inflammatory phase has passed, heat can feel fantastic. Applying a heating pad for 15-20 minutes before your gentle mobility work can help relax tight, guarded muscles and make it easier to improve your range of motion.
Many people find that alternating between ice and heat works best for that lingering soreness. We can give you a specific recommendation tailored to your situation during your consultation here in Cedar Park.
Can a Chiropractor Really Help a Rotator Cuff Injury?
Yes, absolutely. This is a crucial piece of the puzzle that so many people miss. Your shoulder doesn’t function in a vacuum; it’s deeply connected to the health and alignment of your neck and upper back (your thoracic spine). Think of your spine as the foundation that your shoulder is built on.
If your spine is out of alignment, it can mess with the nerve signals going to your shoulder muscles and throw off your shoulder’s mechanics, putting extra strain on that already-injured rotator cuff. Dr. Tuggle can perform targeted chiropractic adjustments to restore proper alignment and joint motion. This creates the ideal environment for your shoulder to heal properly and seriously reduces the risk of future problems. It’s a key part of a complete recovery plan that also includes soft tissue work and targeted rehab.
And for those looking at every possible angle to speed things up, some find it useful to research supplements for faster recovery and discuss those options with their healthcare provider.
When Should I See a Chiropractor in Cedar Park for Shoulder Pain?
The short answer? Sooner rather than later. Don’t wait until the pain is unbearable. You should seek professional help if your shoulder pain sticks around for more than a week, is severe enough to ruin your sleep, or stops you from doing your daily activities.
A major red flag is a sudden, noticeable loss of strength—like if you suddenly can’t lift a gallon of milk out of the fridge. Hearing a distinct ‘pop’ at the moment of injury is another clear sign that you need an expert evaluation right away.
Getting an accurate diagnosis early is the single most important step you can take. It’s what prevents a minor issue from snowballing into a chronic, much more complicated problem down the road.
Ready to get to the bottom of your shoulder pain and start a recovery plan that actually works? The team at Bell District Spine and Rehab is here to help our neighbors in Cedar Park, Leander, and the surrounding areas. Schedule your consultation today by visiting us at https://belldistrictspineandrehab.com.